How to Configure the Hardware for using the AI
Camera Setup
Resolution: The Camera should produce a good quality image of the print bed area. It is recomended to use a RPi-based camera like the Raspberry Pi Camera Module 3 or the Raspbeerry Pi Camera v2. The camera must run with a minimum resoltuion of 640 x 640 pixels. It is highly recomended to run the camera quality at a higher resolution than this, because the camera may be used for other purposes in addition to AI monitoring.
As a result, it is recomended that the camera be run in a resolution of 1920 x 1080 pixels.
Quality: The camera streamer has a quality setting that ranges from 0-100, with 100 being the best quality. It is recomended to run the camera in a quality of 100 or as close to 100 as possible, with the absolute minimum being a quality of 80.
Framerate: The camera framerate (FPS) does not need to be high in order to run the AI. The AI software analyzes the current image every 10 seconds. A frame rate of 1 frame per second is sufficient to run the AI software, however it is recomended to use a frame rate of 5 frames per second to run the AI software.
An example streamer service file has been created and is located at streamer/printwatch-streamer-v3.service in this repository.
Position
Position the Camera to:
- Keep the entire print bed and print area within frame
- Maximize the print bed and print area in the frame
- Ideally print bed and area are edge-to-edge in the camera frame
- Remove items in the background/outside the printer in the Camera frame
- These may cause false-Positive detections
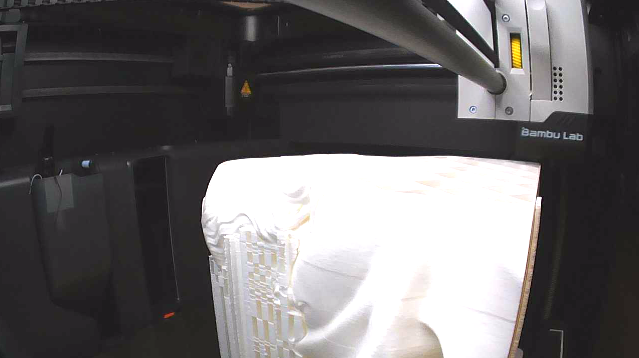
The BambuLabs printers are a good example of camera placement (model P1S pictured):
Lighting
- The print bed and print area should be well-lit and visible with the human eye
- The rule of thumb for Computer-Vision based AI is that if a person is unable to clearly see what is in the frame, then neither will the AI.
- Do not over-expose the print bed and print object with too much light
- A good balance between well-lit and not too bright is required (see examples below).
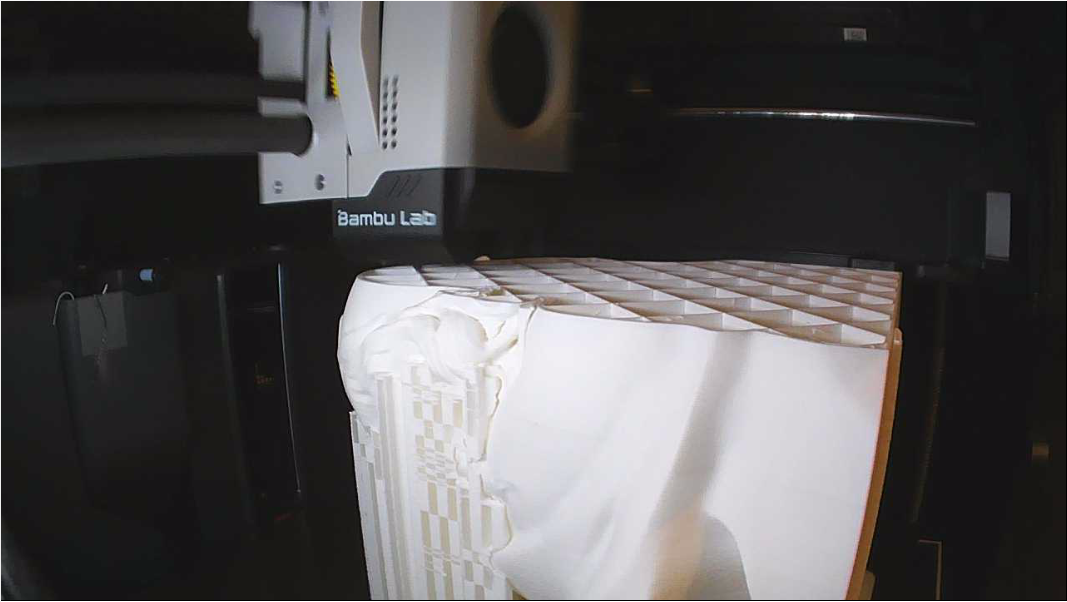
Good Example: Object is visible, and not overexposed to light
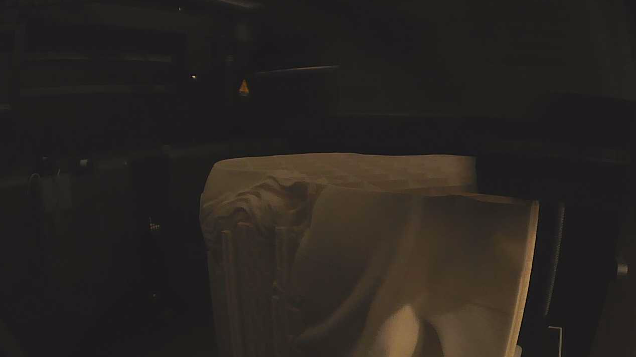
Bad Example: Not enough lighting, object is not clearly visible
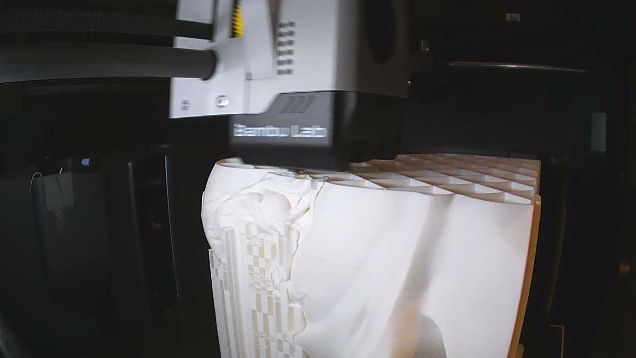
Bad Example: Too much lighting, object is overexposed
Extras
If there are items within the print chamber that are causing issues with the AI software, such as False-Positives, they can be addressed in two ways:
- Sample images from the camera inside the printer enclosure and train with it to cancel out the False-Positives
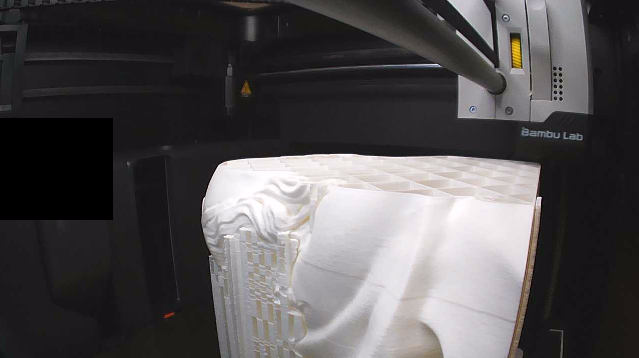
- Add blockout regions inside the AI software.
- A blockout region replaces the selected camera frame areas with black pixels when being sent to the AI model, essentially removing the item from the frame
- This does not change the camera stream or stream preview
Example of #2
The purge shoot on the BambuLabs may get some pieces of spaghetti stuck and visible inside of the frame, and this may cause the AI to unwantingly detect it:

The AI software will draw over the selected area with black pixels so the AI model ignores anything in this region: