The best camera configuration for AI Failure detection on your 3D printer
A properly configured camera is essential in order for the AI model to detect failures. There are 3 main factors contirbuting to a well-configured camera:
Angle and Position
Position the Camera to:
- Keep the entire print bed and print area within frame
- Maximize the print bed and print area in the frame
- Ideally print bed and area are edge-to-edge in the camera frame
- Remove items in the background/outside the printer in the Camera frame
- These may cause false-Positive detections
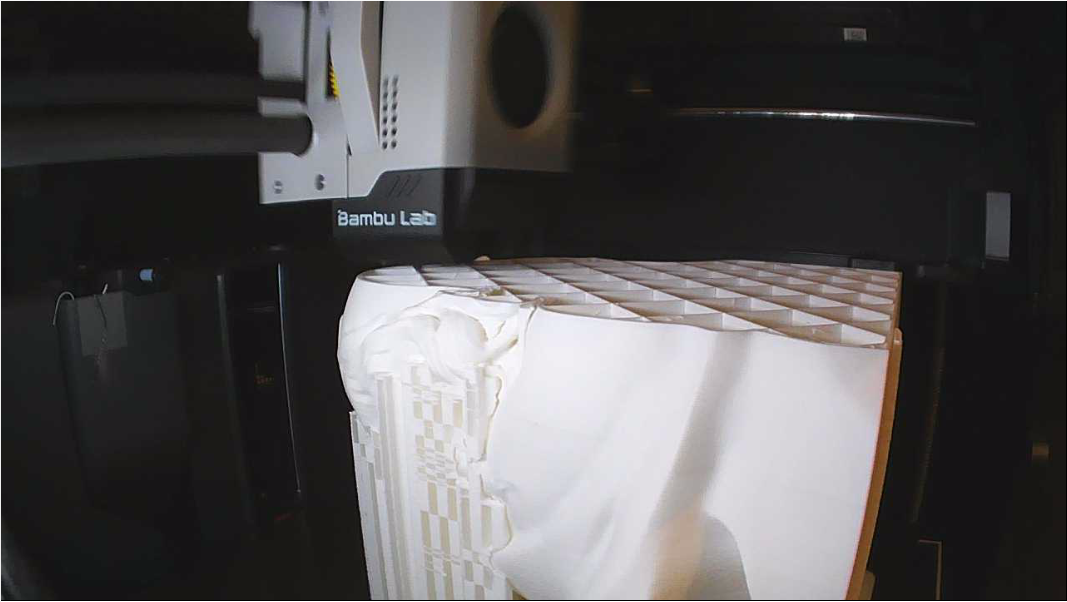
The BambuLabs printers are a good example of camera placement (model P1S pictured):
Lighting
Lighting is very important for the AI to detect properly. Follow these points to ensure your lighting is configured properly:
- The print bed and print area should be well-lit and visible with the human eye
- The rule of thumb for Computer-Vision based AI is that if a person is unable to clearly see what is in the frame, then neither will the AI.
- Do not over-expose the print bed and print object with too much light
- Eliminate light coming into the camera from the opposite direction.
- A good balance between well-lit and not too bright is required (see examples below).
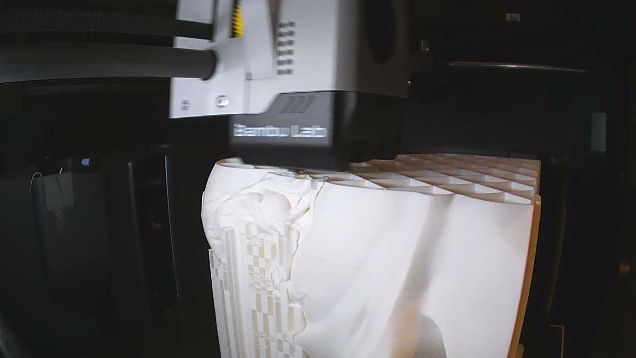
Good Example: Object is visible, and not overexposed to light
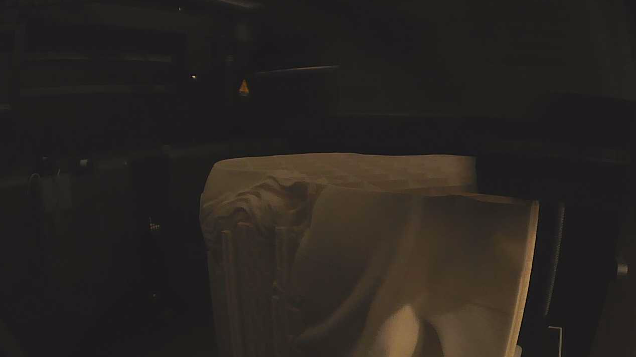
Bad Example: Not enough lighting, object is not clearly visible
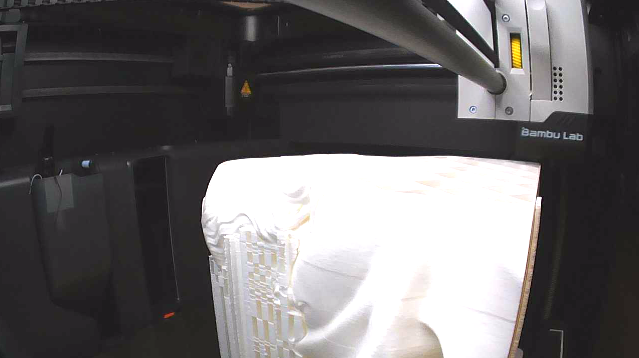
Bad Example: Too much lighting, object is overexposed
Focus and Quality
If the camera is not focused, it does not matter how high the quality or resolution is. If your camera has auto-focus, ensure that it is focusing on the print bed.
For cameras that have a manual focus, ensure that the camera frame quality is crisp and clear when looking at an item on the print bed.
The Camera should produce a good quality image of the print bed area. It is recomended to use a RPi-based camera like the Raspberry Pi Camera Module 3 or the Raspbeerry Pi Camera v2. The camera must run with a minimum resoltuion of 640 x 640 pixels. It is highly recomended to run the camera quality at a higher resolution than this, because the camera may be used for other purposes in addition to AI monitoring.
Note As a result, it is recomended that the camera be run in a resolution of 1920 x 1080 pixels.
The camera streamer has a quality setting that ranges from 0-100, with 100 being the best quality. It is recomended to run the camera in a quality of 100 or as close to 100 as possible, with the absolute minimum being a quality of 80.
The camera framerate (FPS) does not need to be high in order to run the AI. The AI software analyzes the current image every 10 seconds. A frame rate of 1 frame per second is sufficient to run the AI software, however it is recomended to use a frame rate of 5 frames per second to run the AI software.
Frequently Asked Questions
Can the AI failure detection work when the camera is on top of the 3D printer looking down?
Yes, the AI can detect failures from any angle, given the view is clear. With a top mounted camera the view of the print bed and part part will be blocked by the toolhead, so it may not be the best.